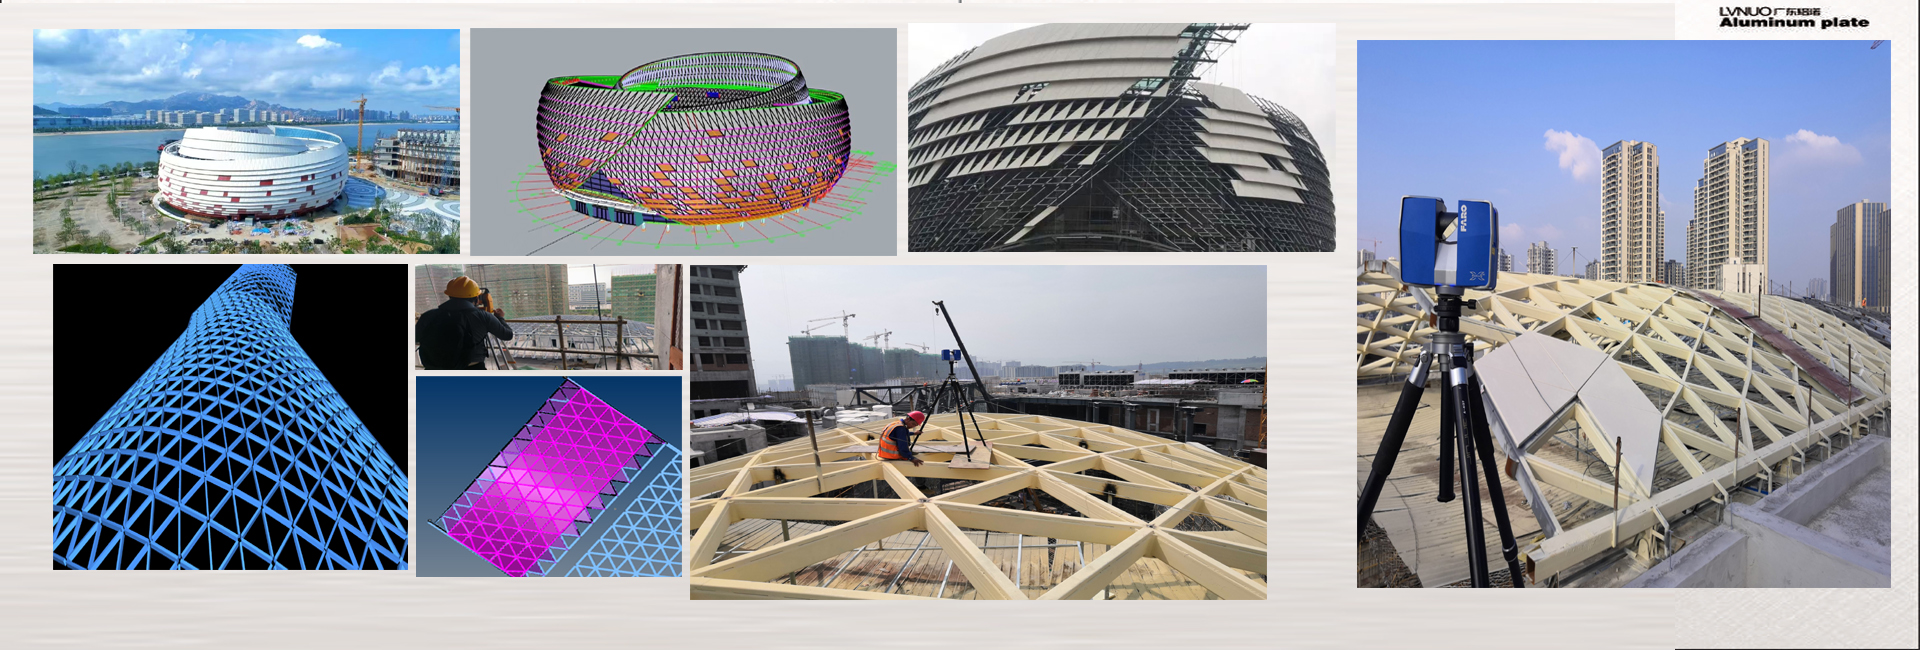


Products Description
I. Production Process
Raw Material Preparation
High-quality aluminum alloy sheets (commonly 3003 or 5052 series) are used, with thickness based on design (generally 2.0–3.0mm).
Sheets are annealed and leveled to ensure flatness and stability.

CNC Cutting
Precision cutting is performed with CNC machines according to design drawings, with dimensional tolerance controlled within ±0.5mm.
Protective film is applied to the surface after cutting to prevent scratches during processing.
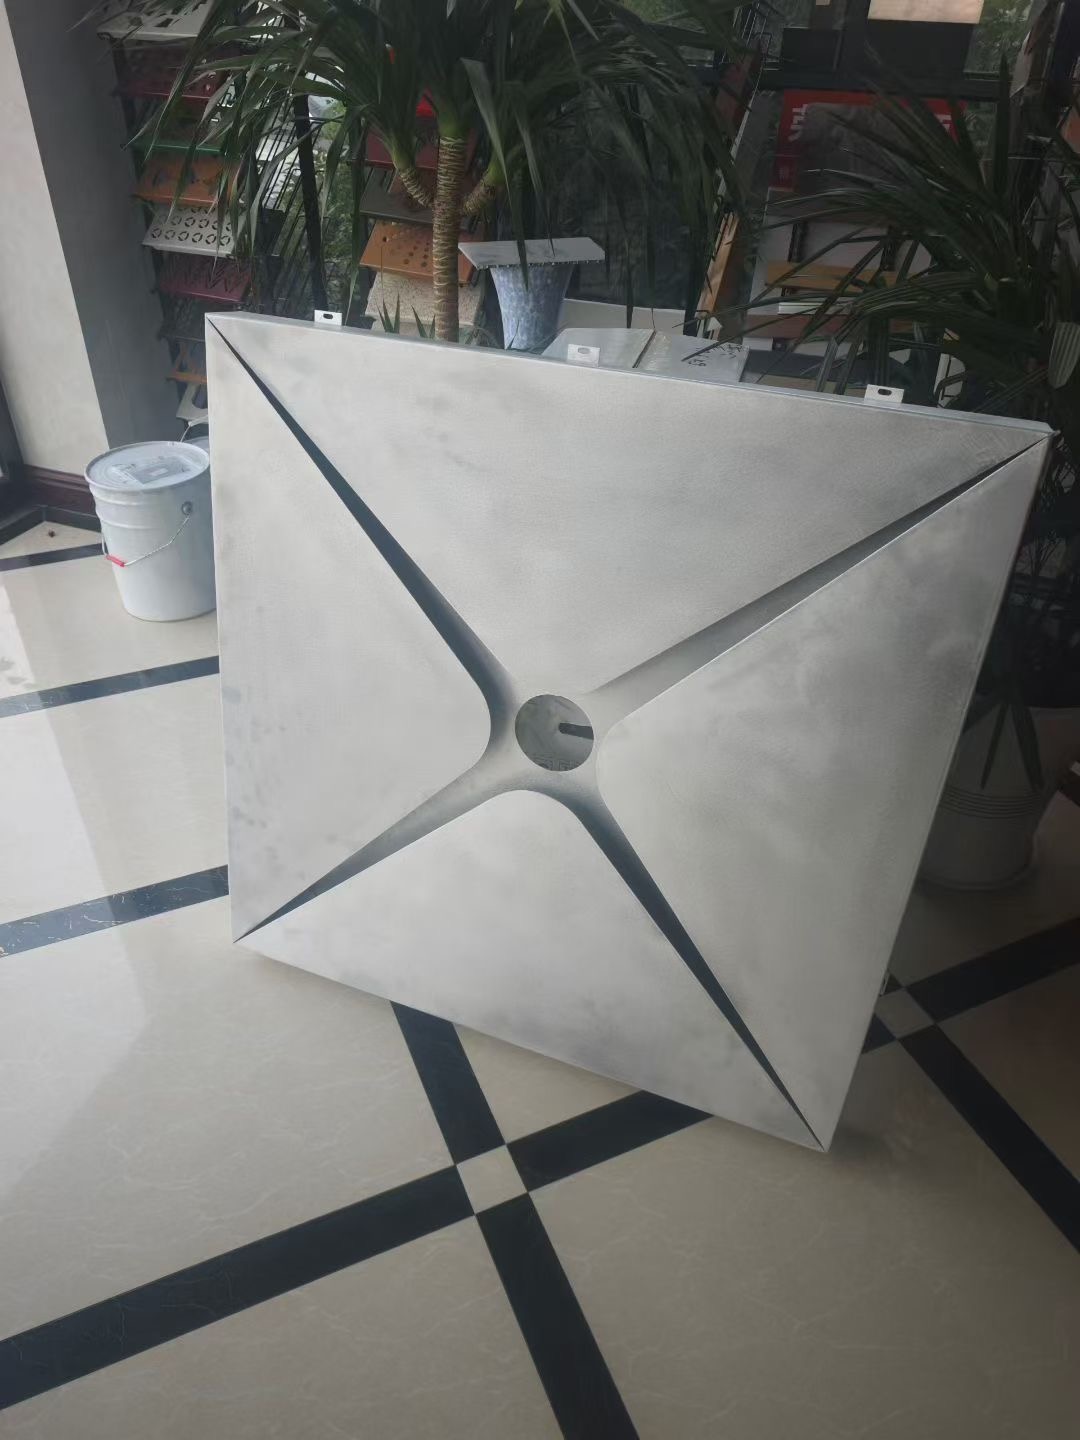
Forming and Shaping
Panels are shaped using CNC bending machines, rolling machines, or custom molds to achieve flat, curved, or irregular geometries.
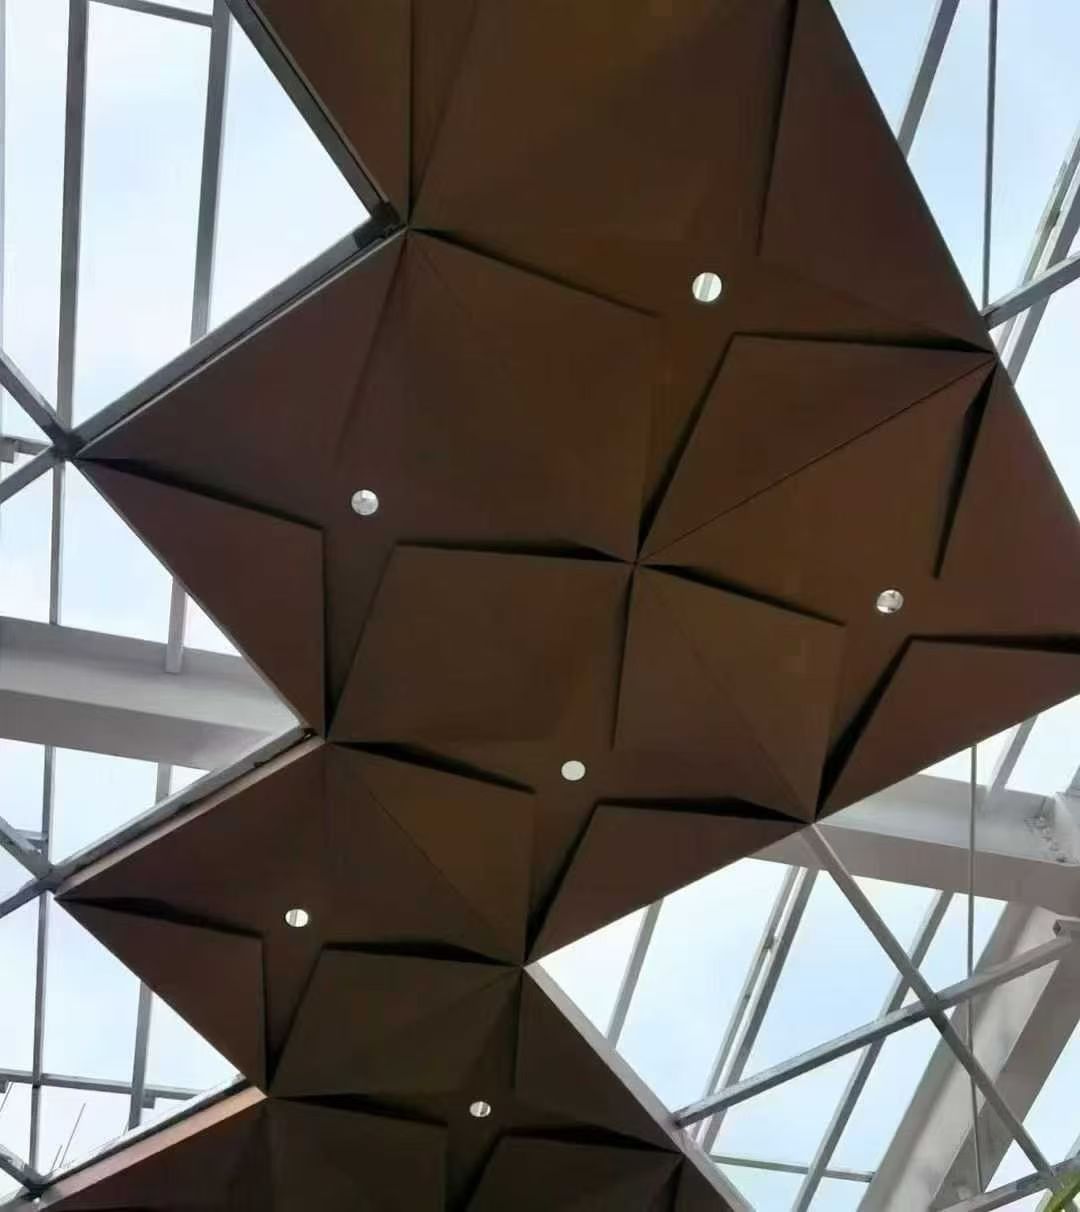
For the starry sky effect, perforation is carried out using CNC laser cutting or punching machines. The hole sizes and distribution follow the design layout to simulate star patterns.
Welding and Reinforcement
Aluminum stiffeners are welded to the back of larger panels to enhance strength and prevent deformation.
Weld seams are ground and polished to achieve a smooth finish.
Surface Treatment
Panels undergo pretreatment processes including degreasing, acid washing, and passivation.
Surface finishing is done with PVDF (fluorocarbon) coating or powder coating, in specified colors (e.g., matte black, deep blue, or metallic finishes with star-like glitter), ensuring weather resistance for over 15 years.
If required, translucent film or luminescent coating can be added behind perforations to enhance the night-sky effect.
II. Installation Procedure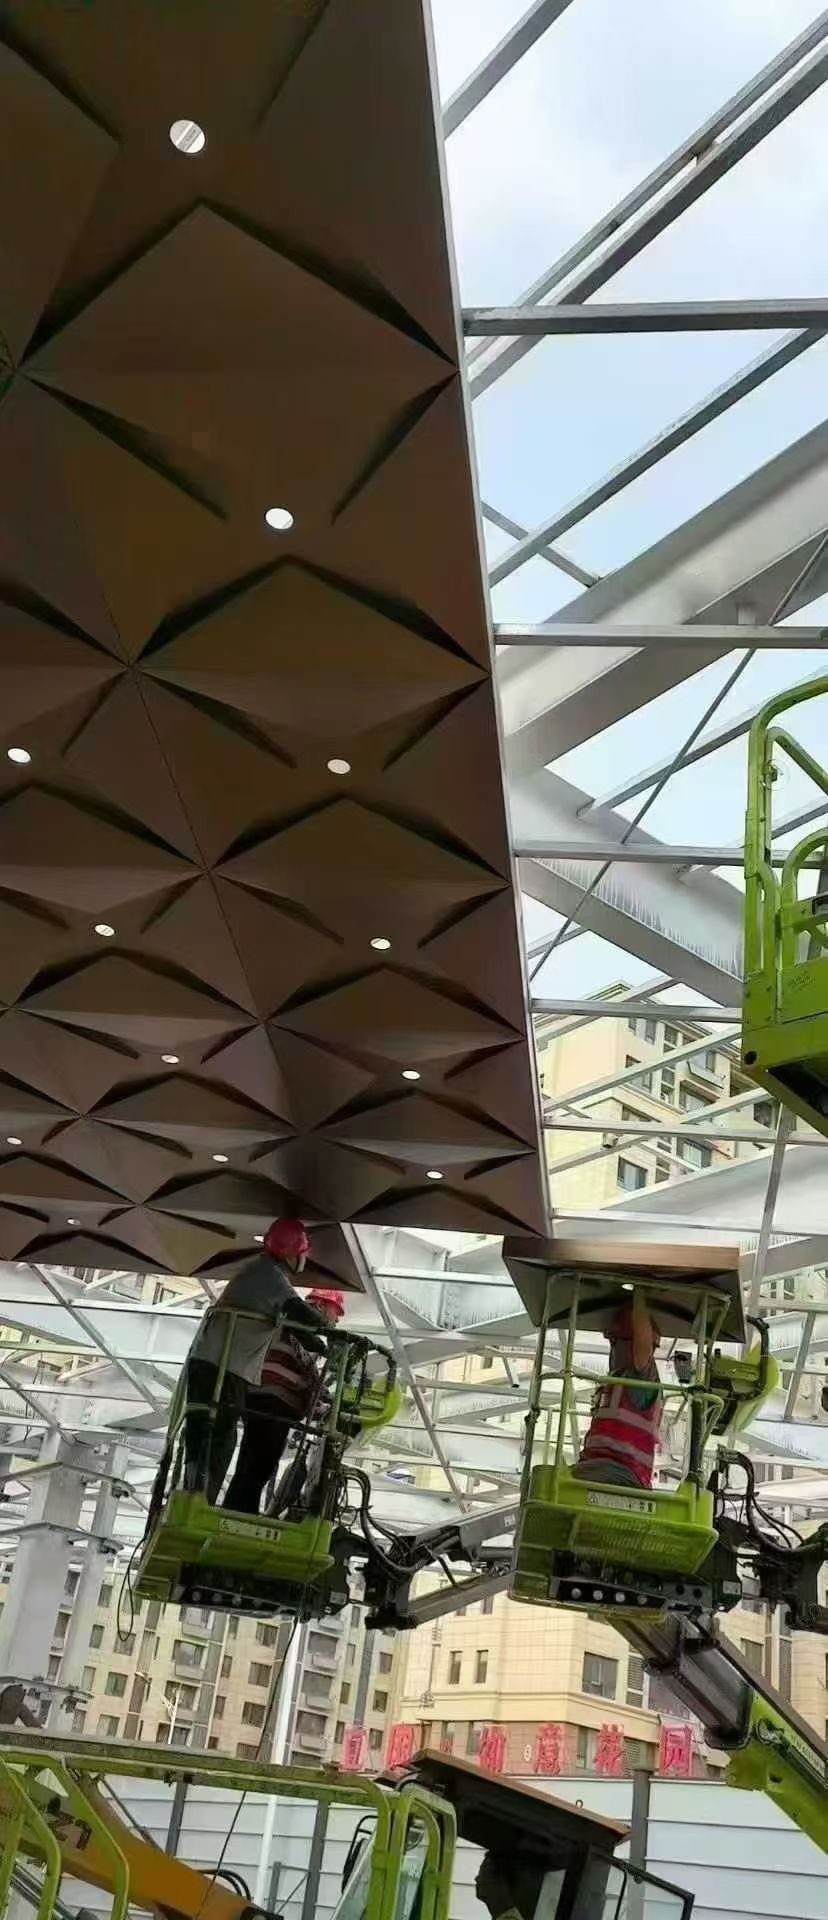
Base Frame Preparation
The ceiling structure uses light steel or aluminum alloy framing, securely anchored to the main structure.
Before installation, structural elevation, leveling, and embedded components are checked, with tolerance controlled within ±5mm.
Layout and Suspension System
Elevation lines are marked on surrounding walls using laser levels and chalk lines.
Main and secondary frames are installed according to modular layout; spacing is typically 600–1200mm.
The frame must be level and stable, with deviation not exceeding 2mm.
Panel Installation
Panels are hoisted and positioned one by one according to the module arrangement, fixed with clips or screws onto secondary frames.
For perforated star panels, a translucent backing or lighting modules (LEDs, fiber optic points) are installed behind.
Adjustment and Fixing
After placement, each panel is adjusted for even gaps (typically 8–12mm), with flatness deviation controlled within 1.5mm.
Panels are permanently secured with stainless steel screws or specialized fasteners.
Edge Trimming and Inspection
Ceiling edges are finished with aluminum angle trims or decorative framing.
Final inspection covers flatness, joint uniformity, surface cleanliness, and lighting integration.
Starry Sky Effect Commissioning
Lighting systems (LED or fiber optics) are powered on for testing. Brightness, color, and twinkling effects are adjusted to achieve the designed starry night appearance.